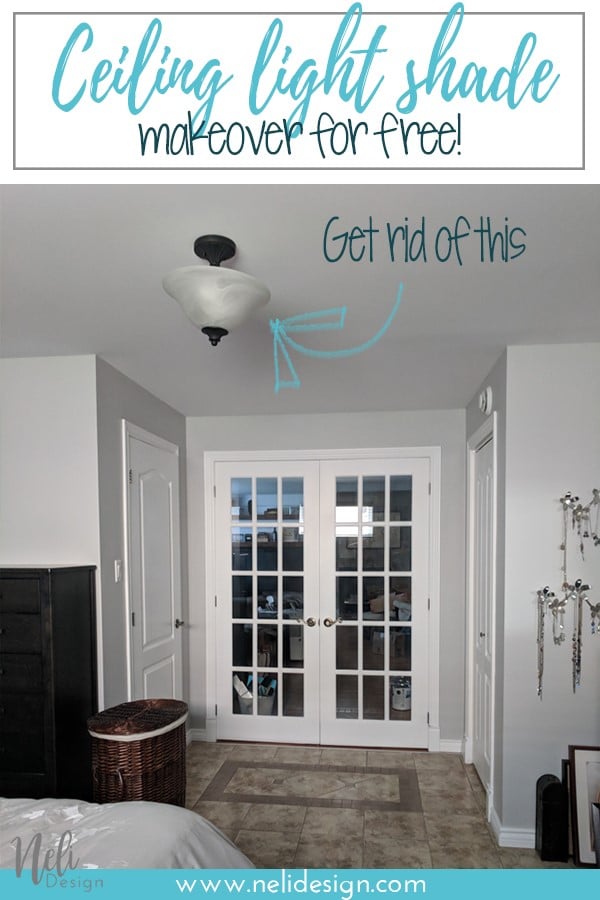
[wc_box color="inverse" text_align="center" margin_top="" margin_bottom="" class=""] Learn how I upgraded a ceiling light shade with things I already had at home. This is a low-cost solution to get rid of the boob light and replace it with a beautiful light fixture. [/wc_box]
This DIY was part of the $100 Room Challenge I did last September where I had to makeover my master bedroom in one month for no more than $100. And I did it for only $87! You can check out the reveal here.
The best part is that I already had all the material to make the lampshade. When you have only $100 to makeover a whole room, it's convenient!

This post contains some affiliate links for your convenience and at no extra cost to you. Click here to read my full disclosure policy.
Required materials for making your ceiling light shade
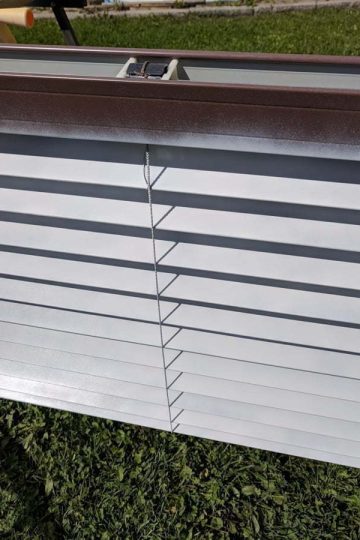
- Bamboo shades (mine were 40" wide)
- Wood glue
- Clothespins
- Small brads
- Super Glue
- Scissors
- Punch or drill (that's the punch I have and it works really well)
- 6 small metal corner braces
How to start
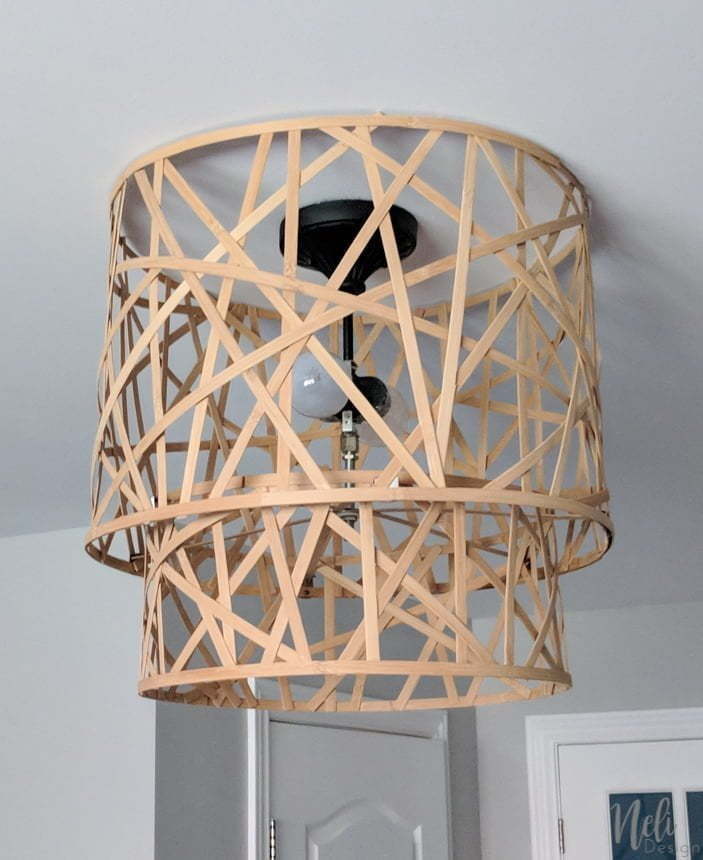
First of all, the ceiling lampshade that I made has 2 pieces. The top part has an 18" diameter and is 12" high and the bottom part as 14" in diameter x 6" high.
If your bamboo strips are not long enough to make the size you want, you can use two strips. You'll see that this DIY is made of a lot of "glue and wait". Unless you have a ton of clothespins!!!
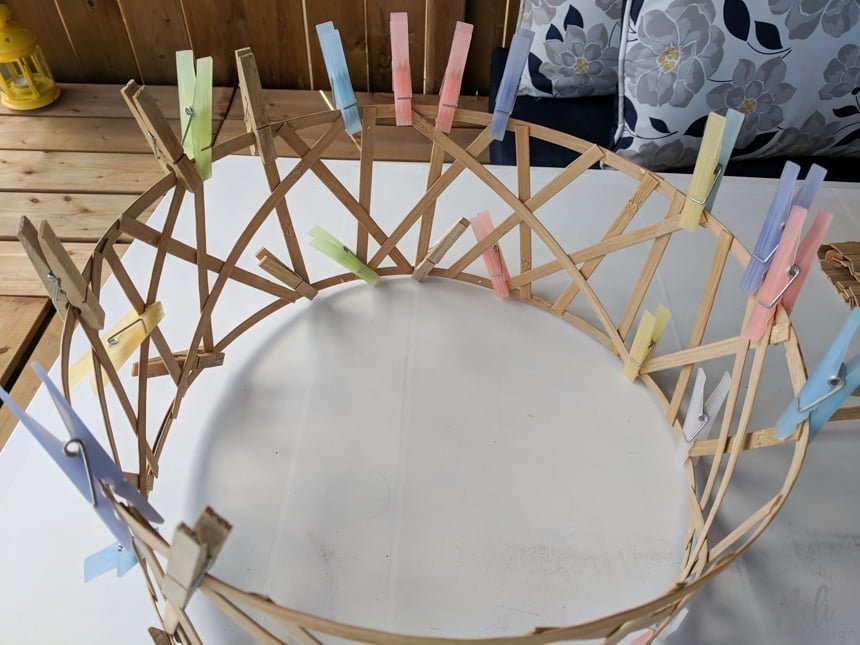
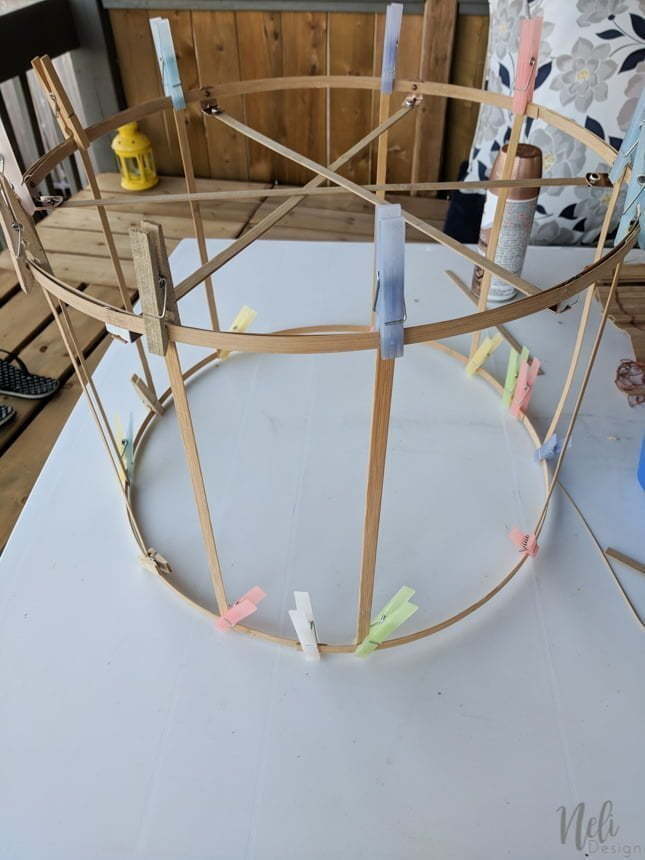
Bottom part
So first, I made two circles of the same size by glueing the end of a bamboo strip together like this. I use the wood glue for this but the super glue can also work.
Then I cut 3 or 4 pieces of bamboo exactly the height that I wanted for the bottom of the shade. Glue one end of the pieces of bamboo to one circle and the other end to the other one, forming a cylinder.
After, I cut different lengths of bamboo and glued them.
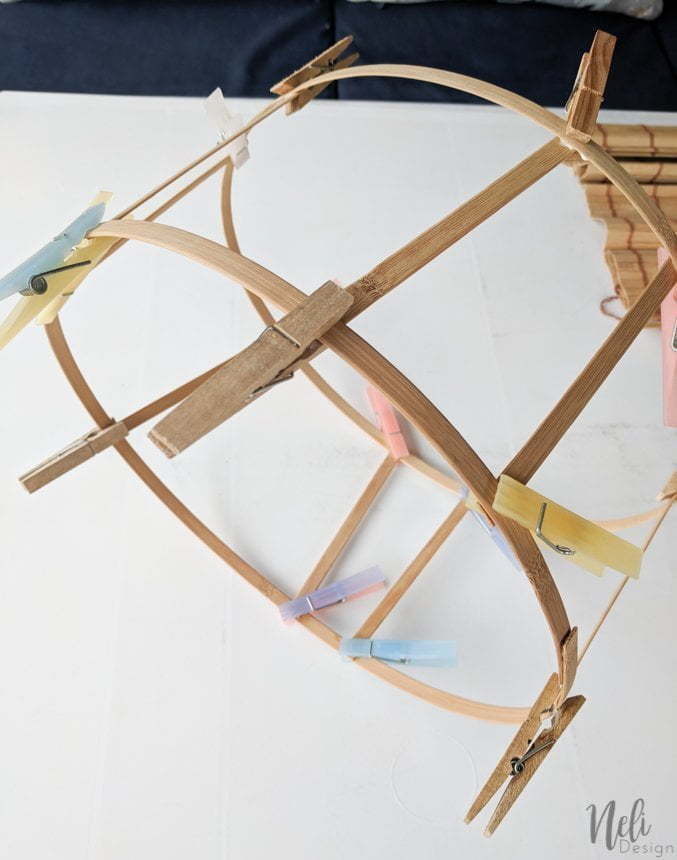
There's really no exact recipe for this! You just continue until you're satisfied (or tired!!)
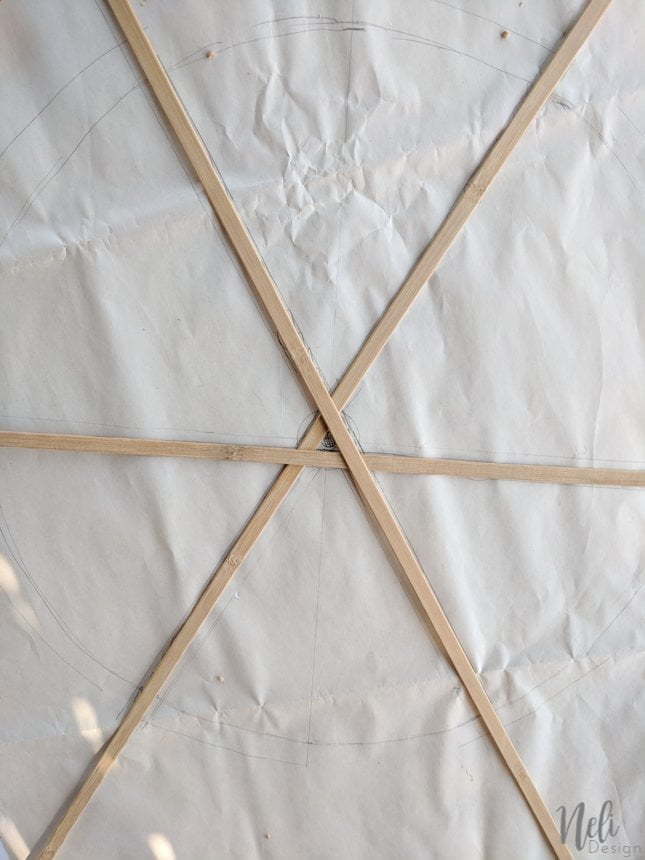
Top part
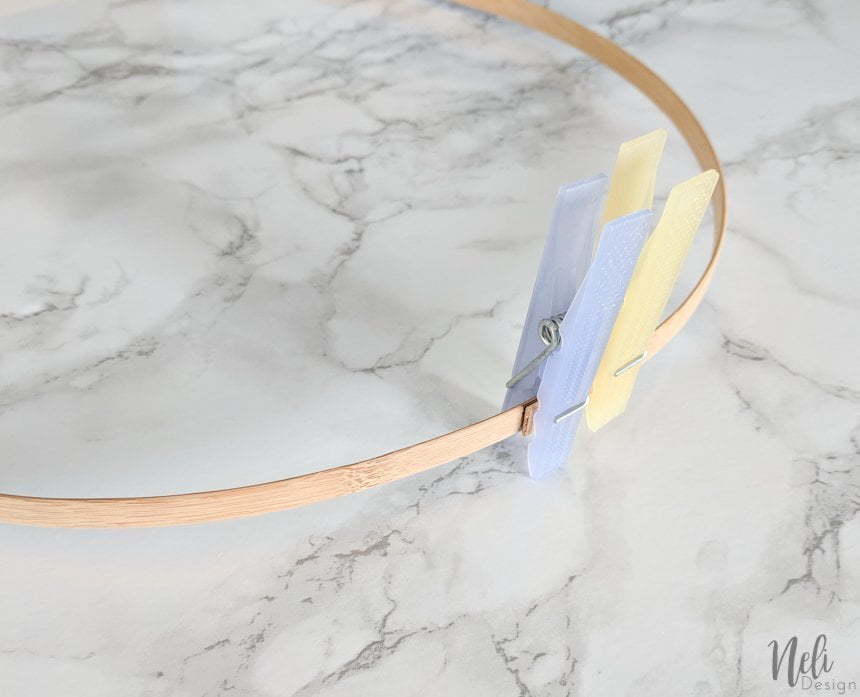
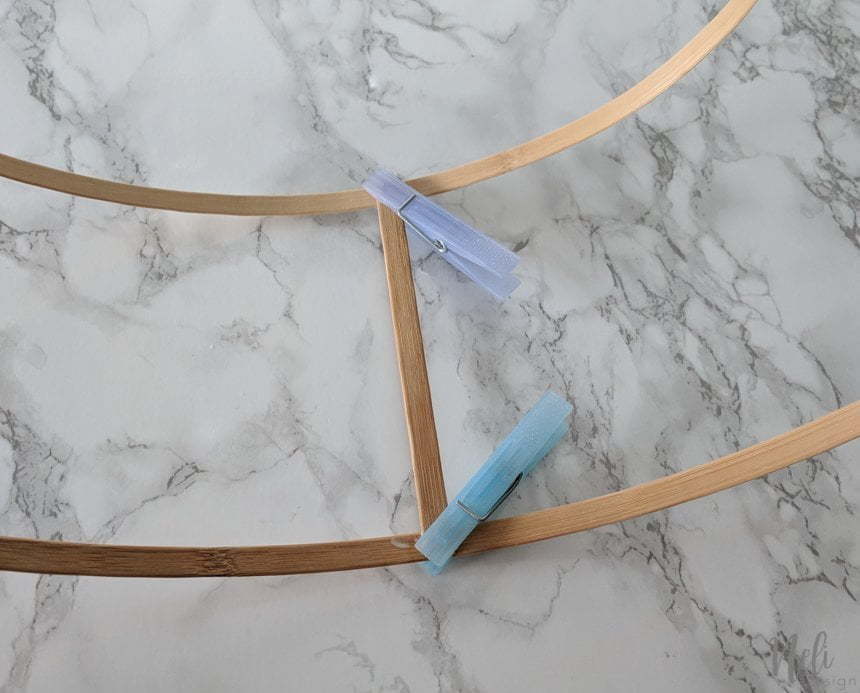
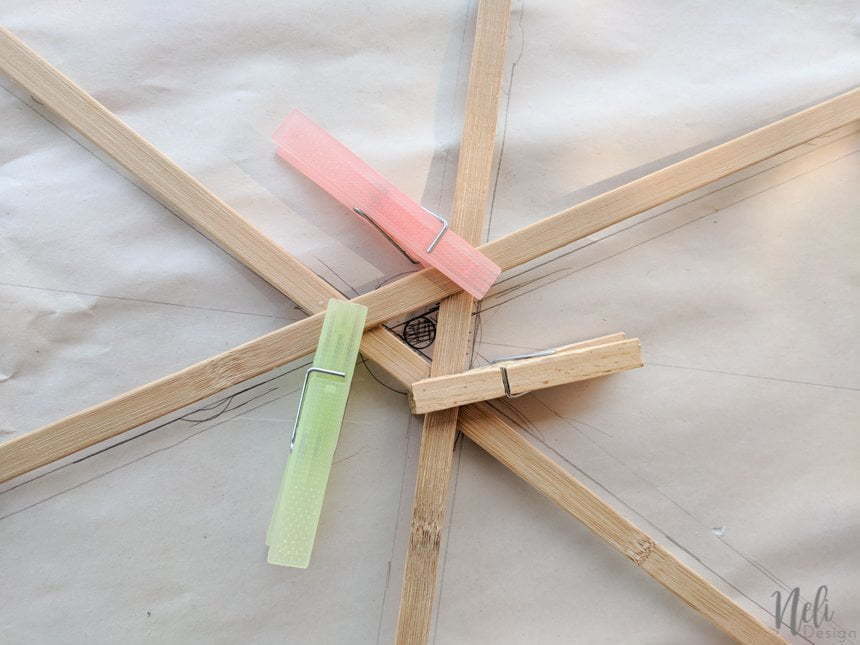
For the top part, I drew an 18" circle on a big sheet of paper to help guide me. Then, I placed 3 strips of bamboo so that they evenly cross each other like this:
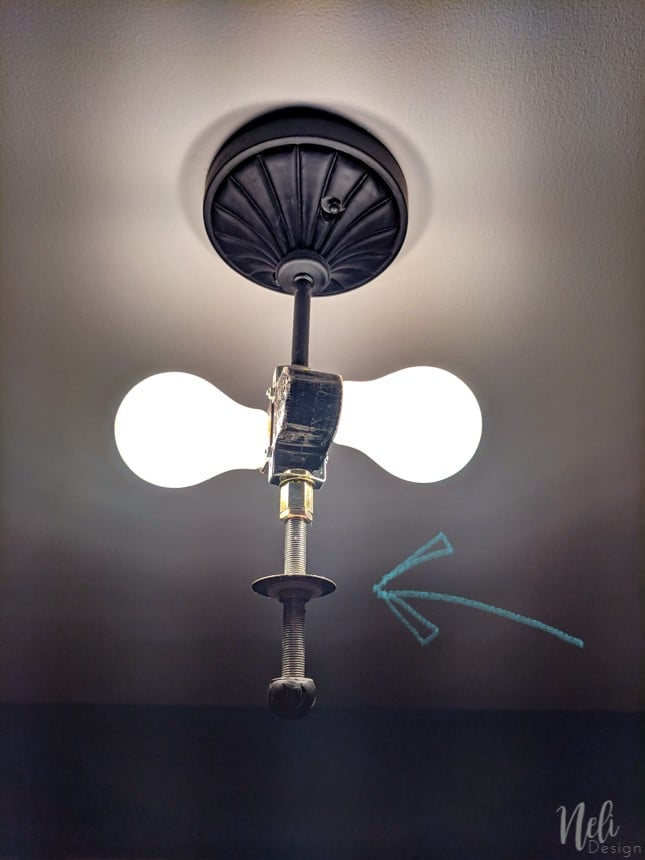
You see, I had this rod and washer that I planned to use to fasten the new shade (see the arrow).
Here's the same washer. I wanted to make sure the rod would go through the whole I was making with the three bamboo strips.
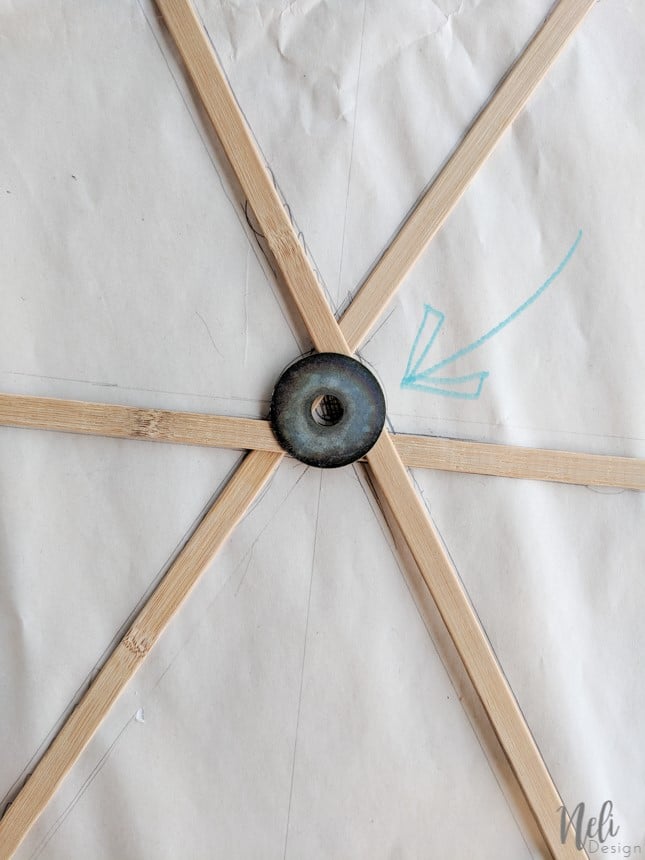
Then, I glued the 3 strips together.
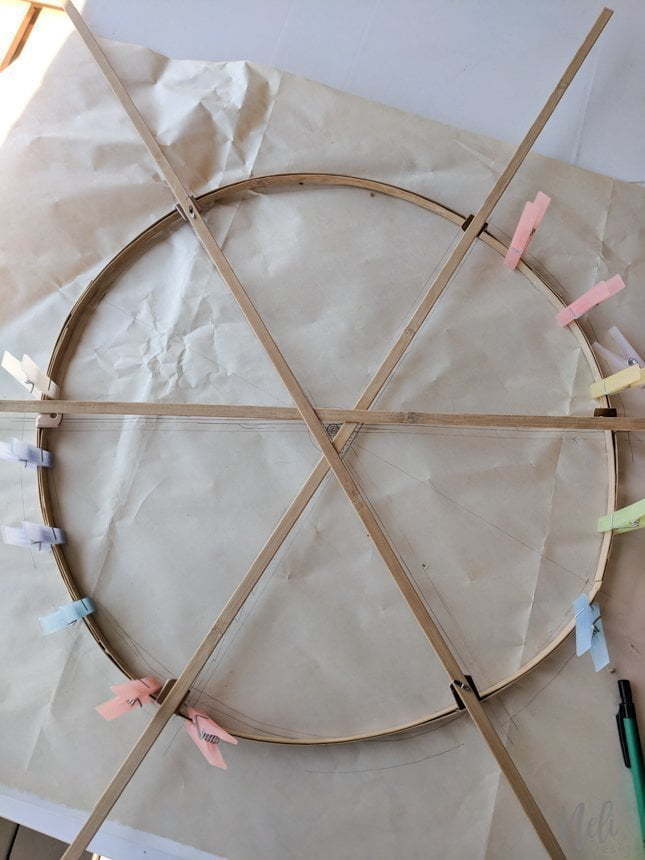
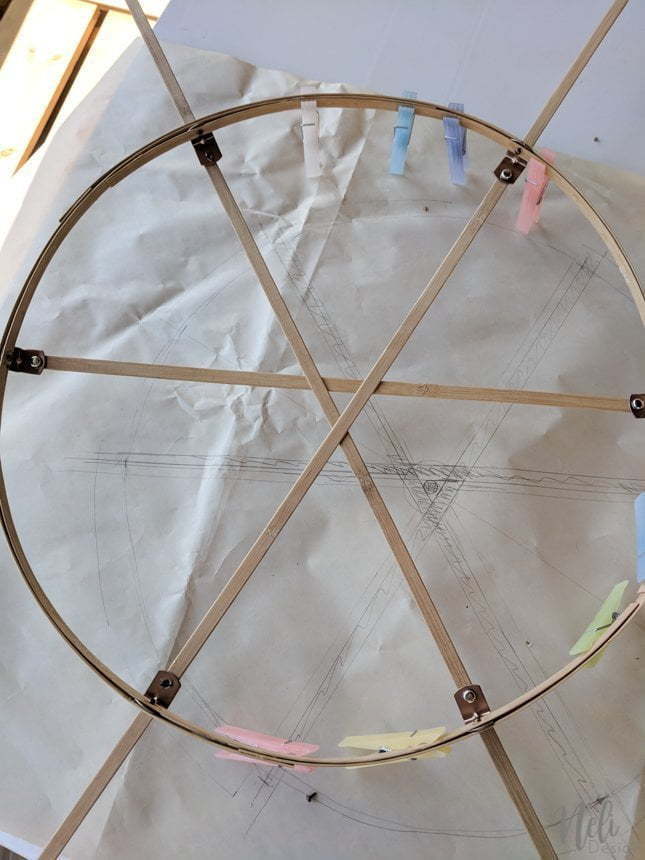
Now, I made another ring of bamboo and made sure it fits inside the bottom ring. I decided to do it that way so that we don't see the braces from the outside of the lampshade. This is where I used my punch to make holes and fasten the small braces with brads as shown in the image below. I added super glue to the brads to make sure it didn't come off.


When making the holes, I had to make sure I was making them aligned with the 3 bamboo strips I had glued together previously. Since the bamboo strips are flexible, it's better to have drawn a circle on a paper to use as a guide and make sure the hole stays in the middle.
I didn't glue the brads to the 3 pieces of bamboo right away, and you'll see why later.
When everything was attached, I cut the excess of the bamboo strips.

The next steps for the top part are the same as for the bottom part.
Final assembly
Finally, I inserted the 3 bamboo strips in the bottom part like that (that's why I didn't glue them right away).
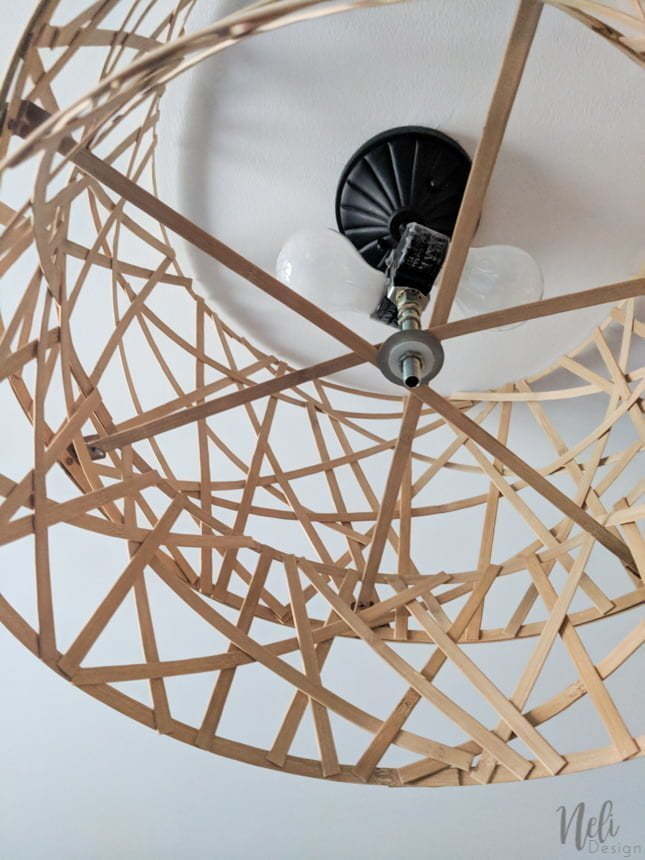
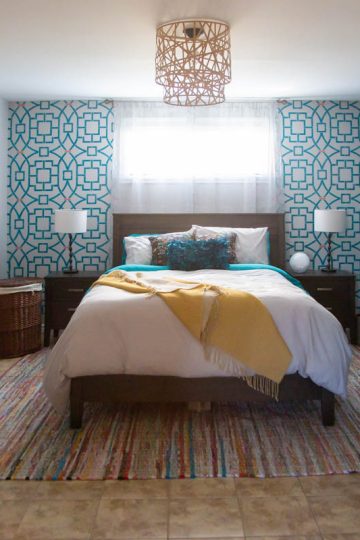
The only thing left to do was to screw the washer with the nut until the lampshade touched the ceiling.
And voilà, a new and free lampshade.
I can't say it wasn't a long process and I made a lot of mistakes along the way. Hopefully, this tutorial will help you if you decide to try it! Don't hesitate to ask if you have any questions!

And please, don't forget to pin it!