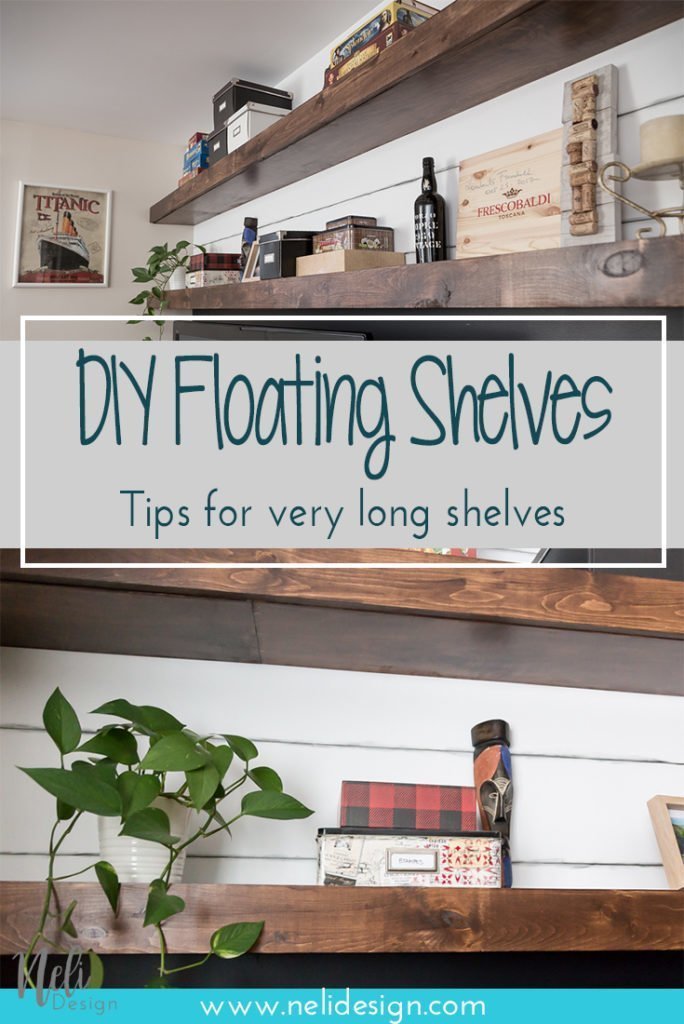
Making long floating shelves, compared to regular length ones, requires some extra knowledge. See all the steps to achieve them.[/wc_box]
It's in the $ 100 Room Challenge that I made these long floating shelves. It was my third participation in this challenge. If you want to see all the adventures I had this time renovating the family room, click on the following links:
Week 1 | Week 2 | Week 3 | Week 4 | Week 5
Long floating shelves
If you have already read some post on my website you probably know that I'm a big fan of Shanty 2 Chic. It's on their website that I found instructions on how to make these floating shelves.
But my shelves, in addition to being stuck between two walls, were not the same size. So I stubbornly did what I thought and followed more or less their instructions. And, once again, I learned several things I shouldn't do! Thanks to my husband for helping me, otherwise, I think I would still be trying to install them!!
The plan
It had to cost me as little as possible for the $100 Room Challenge. Therefore, the depth of the shelves was determined by the number of planks I was able to get into a 4 'x 8' plywood.
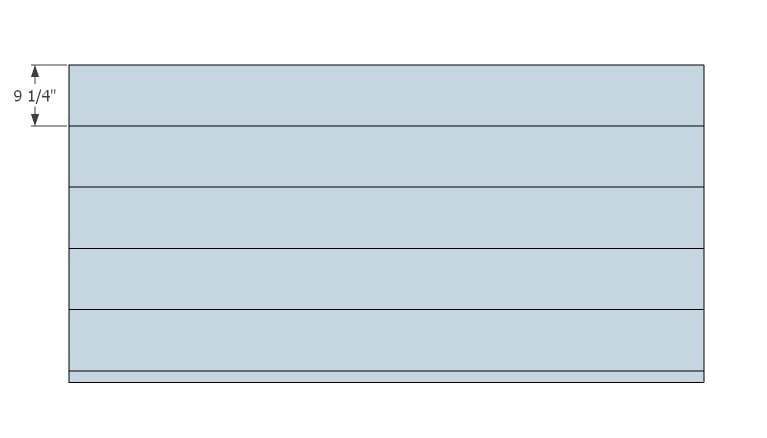
If you watch closely you'll say: Why 5 planks Natalie? For 2 shelves, you only need 4 (2 above and 2 below)?
Well, it's because my wall measures 9 '- 6" to complicate things 🙁
This post contains some affiliate links for your convenience and at no extra cost to you. Click here to read my full disclosure policy.
Requires materials
[wc_box color="primary" text_align="left" margin_top="" margin_bottom="" class=""]
- Aspen Plywood ½ "x 4 'x 8'
- 1 "x 4" x 10 'Knotty Pine plank
- 4 - 2 "x 3" x 8 ' plank
- Screws #8 - 3"
- 2-1 / 2 " screws for Kreg Jig
- Stain
- Polycrylic mat varnish
[/wc_box]
Tools required
[wc_box color="primary" text_align="left" margin_top="" margin_bottom="" class=""]
- Countersink drill bits kit.
- Kreg Jig (I have the K5 and I love it!)
- Level
- Drill
- Mitre saw
[/wc_box]
Steps to follow and not to follow!
Anchors
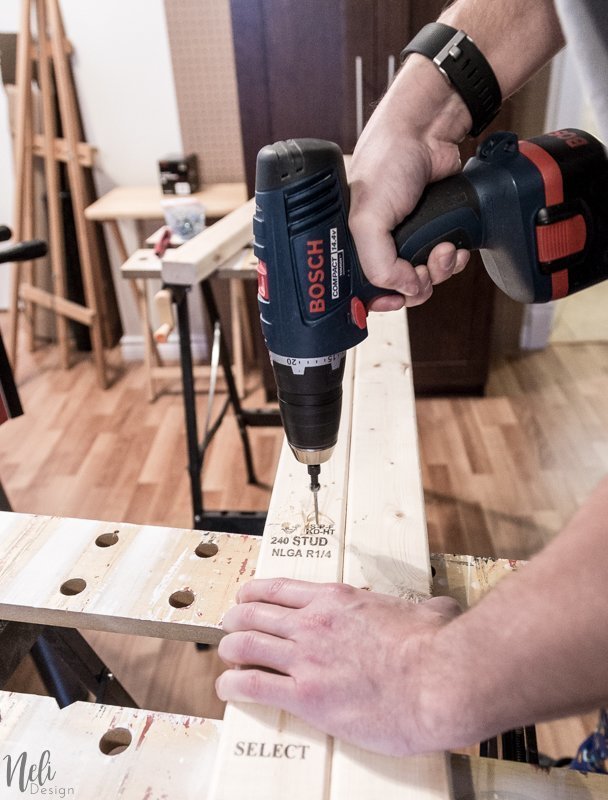
I cut 14 pieces of 7-3 /4" length in the 2 "x3". Then, I made 2 pocket holes with the Kreg jig on each piece at one end only.
To make sure it's solid, I found the studs in the wall and marked the long 2"x3". Then I drilled holes with a countersink drill bit so that the screws get in the studs. (With this picture, you understand that "I" is not me !!! 😉 )
That's when I should've installed IMMEDIATELY the small 7-¾" pieces! But my husband had to leave and since we had to be 2 in order to set it to level, we installed the 2 "x3" on the wall immediately.

What I learned is that screwing through pocket holes takes some strength. Strength that I would have had if I had been on the floor with the drill pointing down. But now, with the drill pointing to the wall and my feet on a stool, it was simply impossible. So I was trying to save time but still had to wait for my husband to return to help me. Frustrating !!! ?
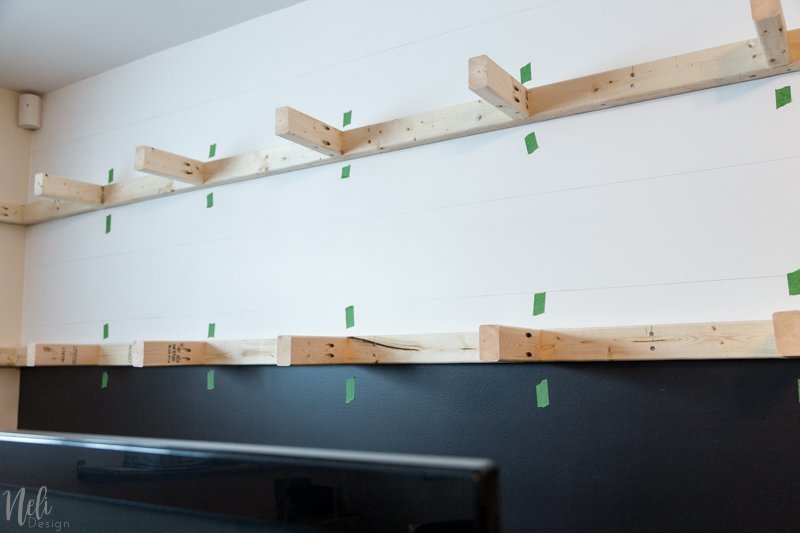
You see the green pieces of tape? That's the only good shot I did on this project!? It showed me where the small boards were when it was time to nail the top and bottom.
The shelves
When buying the plywood, I immediately made the store cut 5 sheets of 9-1 /4" otherwise it would not have even entered the car!
I undertook to immediately attach a piece of plywood to the other piece of 8 feet to fit the length of my wall. BIG MISTAKE. Using pocket holes in ½" plywood doesn't work very well.
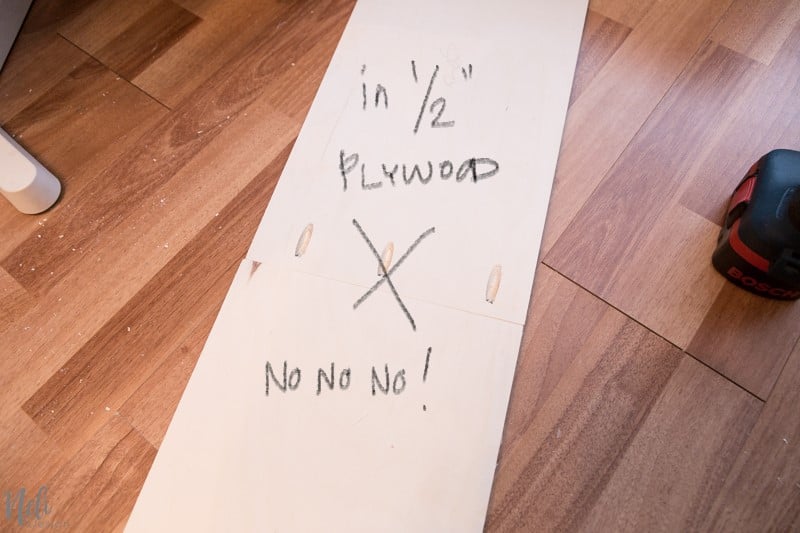
Even to fix the front, it would pass through from time to time. I ended up putting a few brackets like these.

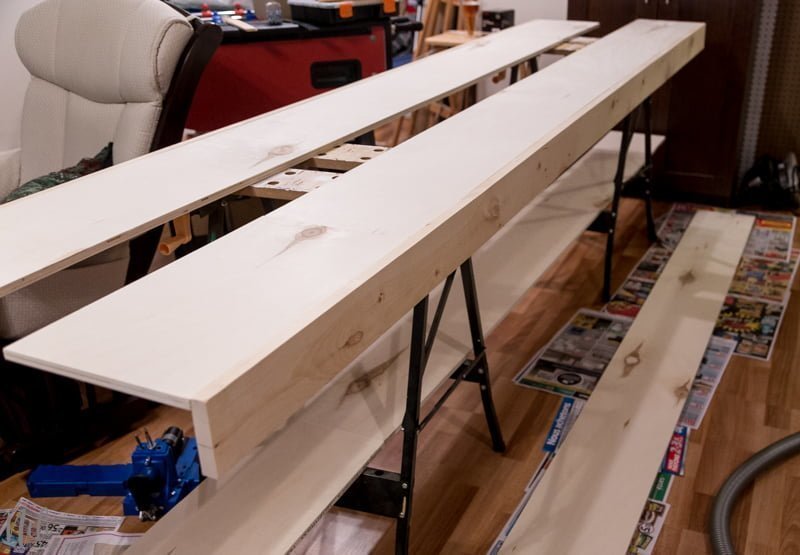
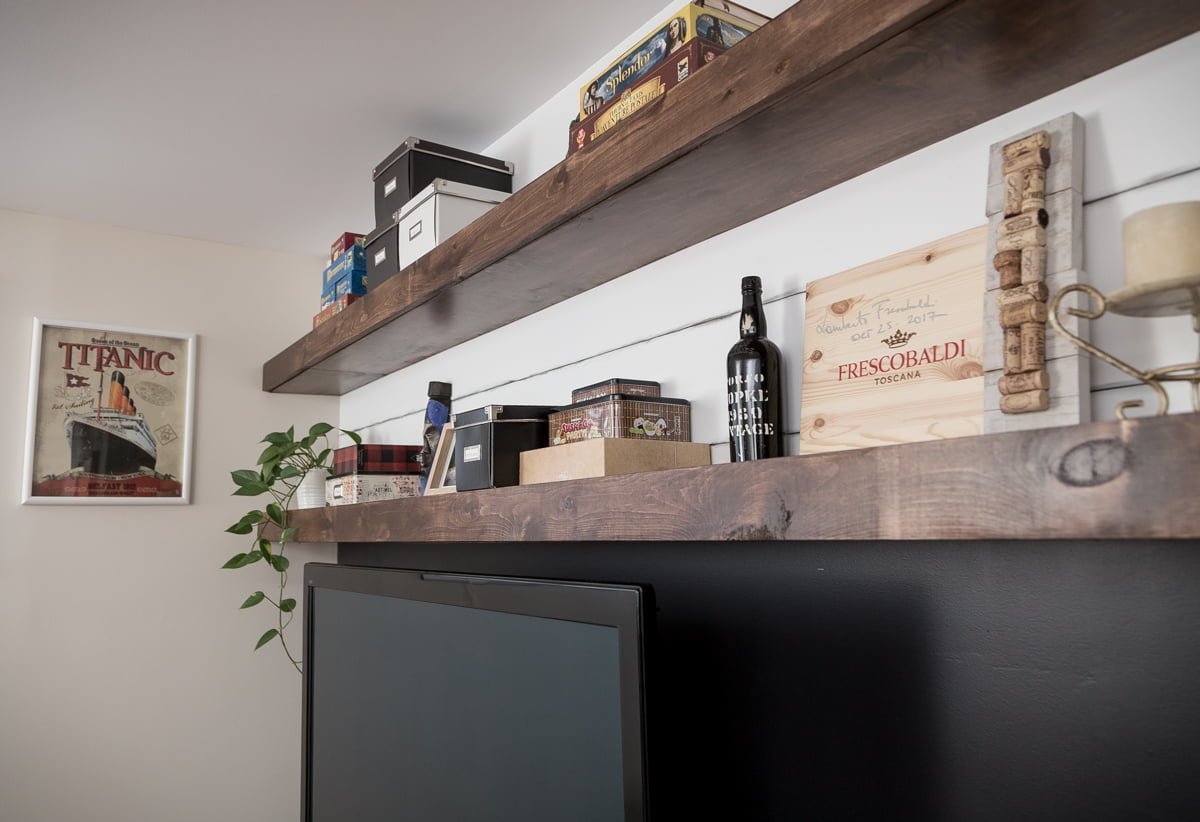
Here are the shelves once assembled.
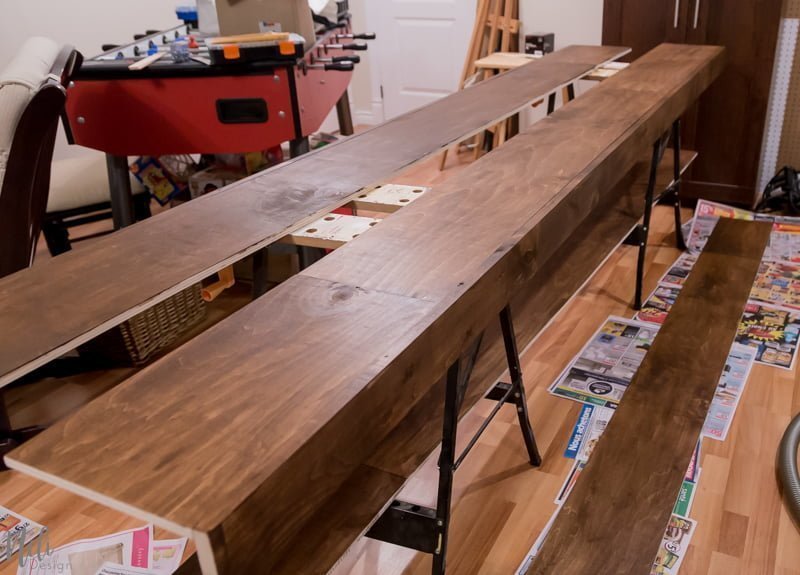
A few coats of stain and varnish later ...
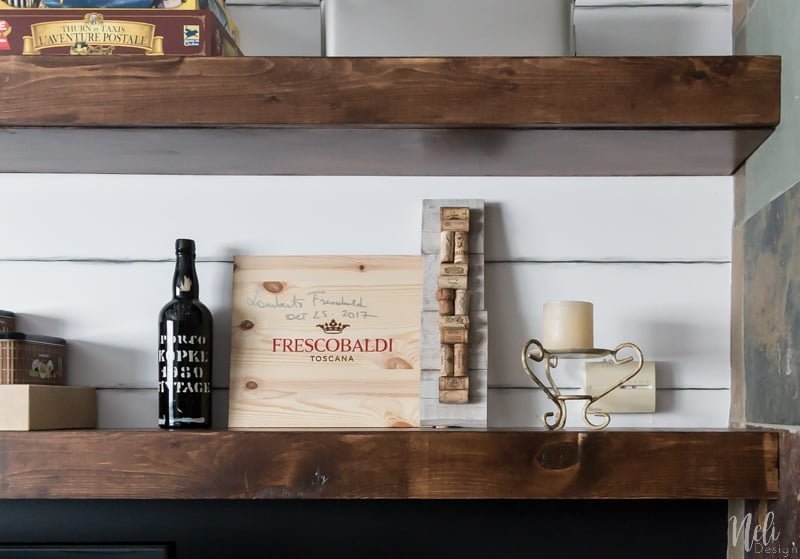
The shelves were then fixed with a nail gun, taking care to nail in the 2"x3" I had previously marked with green tape.
What I should have done instead
I should have simply cut the pieces and not attempt to assemble them together before putting them on the wall. It would have been so much easier to nail them on the anchors on pieces at a time!
Lessons learned:
- The walls are never fully levelled and it's almost impossible to get everything to fit perfectly! (If you knew how many times we went back to cut the planks!)
- Do not try to skip steps to go faster, it never works!
- The pocket holes in a ½ inch of material, it is not recommended. I will definitely buy a ¾" plywood next time.
- Use a nail gun and fill the holes, it is totally doable even if you stain. (the girls from Shanty 2 Chic use this wood filler and I promise myself to buy and use it next time!)
- Make construction during winter in Quebec, between two snowstorms, when your tools are in the shed = never again! ?
Remember to go take a look to see all the stages of the $100 Room Challenge
Week 1 | Week 2 | Week 3 | Week 4 | Week 5
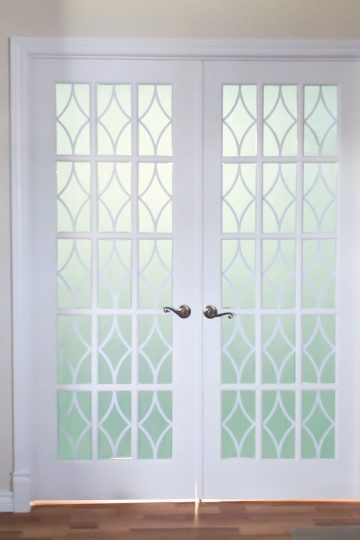
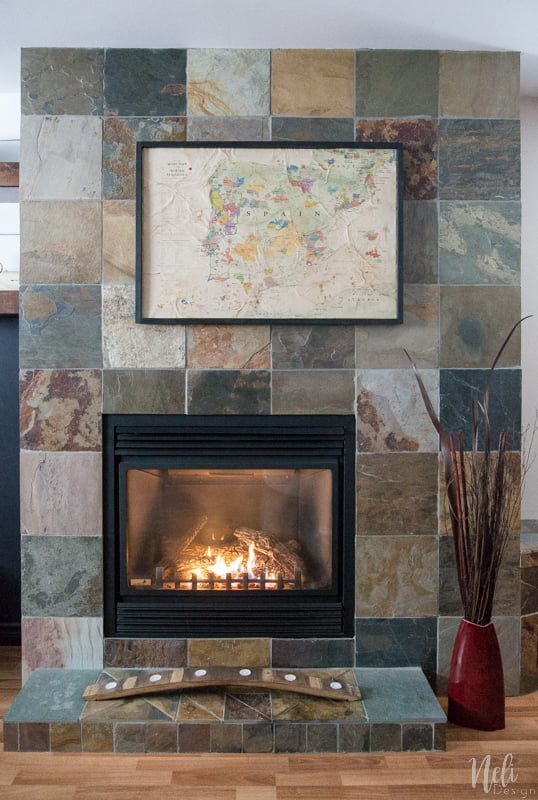
Especially the post about the making of this vintage map.

Click here to see which Link Party I participate.
If you don't want to miss any post, subscribe below:
PS: Please Pin it for later!